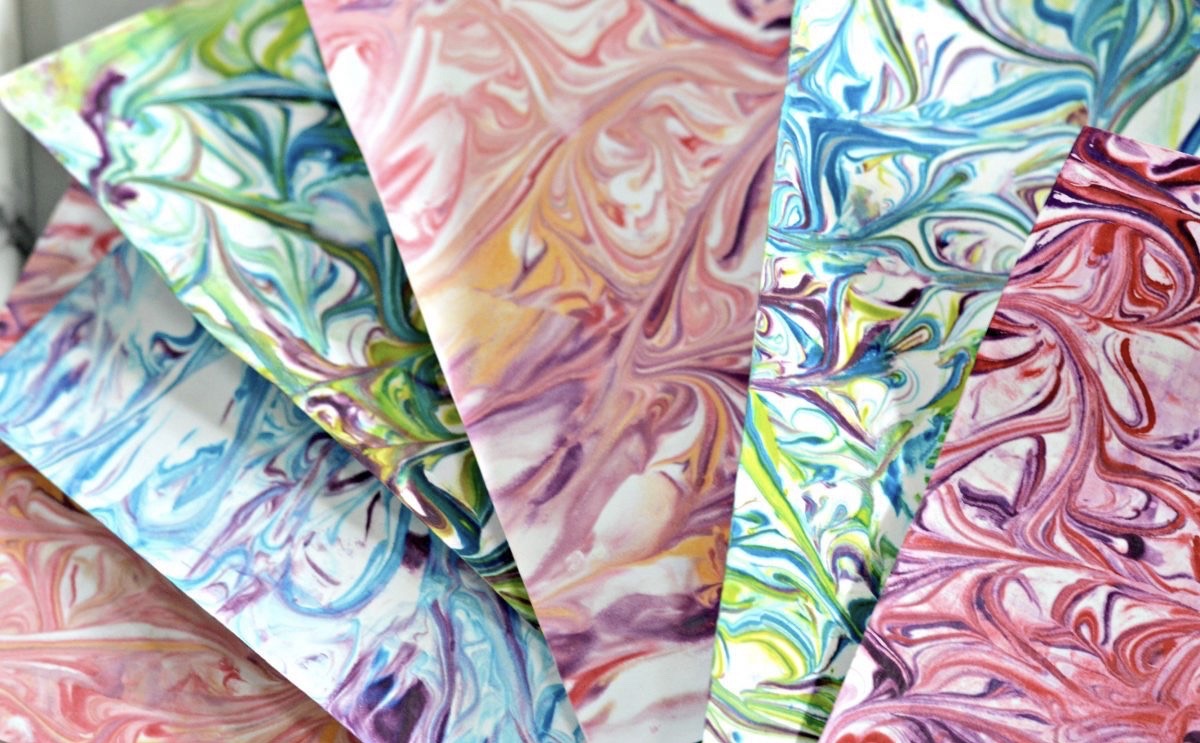
PRG’s Gallery Intern Noemi Mangual-Rosa (RU-Newark BFA Fine and Studio Arts ’20) provides five easy steps to creating marbled prints using everyday materials.
This fun activity is inspired by the marbled quality in artist Jaz Graf‘s artwork titled Between What Was. Graf currently has several pieces on display in our exhibition Why We Do What We Do.

Jaz Graf, Between What Was, Cyanotype and Silkscreen.
Materials:
Shaving Cream
Tray
Food coloring (paint can be used as a substitute)
Toothpicks or wood skewers (to create design)
White cardstock or watercolor paper (to absorb without falling apart) Ruler
Gloves (optional)
Paper towels
step 1: Spray enough shaving cream to cover the bottom of the tray, then use a spatula or knife to spread it into an even layer. squeeze drops of your choice of food coloring or paint throughout the pan of shaving cream.

step 2: use a wood skewer or toothpick to make swirls throughout the shaving cream, making sure to get desired marbled effect without over stirring.

step 3: place a piece of cardstock or another kind of white paper you may have on hand on top of the shaving cream and press down. Gently lift up and out and place your paper on towels, shaving cream side up.

step 4: Start with one side and scrape the shaving cream off in one motion using a ruler. (This is when you'll see the marbling effect stained into the paper). Discard shaving cream into the trash or sink and let the paper dry completely.

step 5: Enjoy your marbled prints! They can be cut out and pasted onto blank paper to make stationary, cards, bookmarks or just enjoyed on their own.

